Photoshop has various amazing tools and brushes are one of them. There are a lot of brushes which are great for us to use. But have you ever tried to create your own Photoshop brushes? It’s more fun and interesting. Check it out below:
Step 1: Create new document
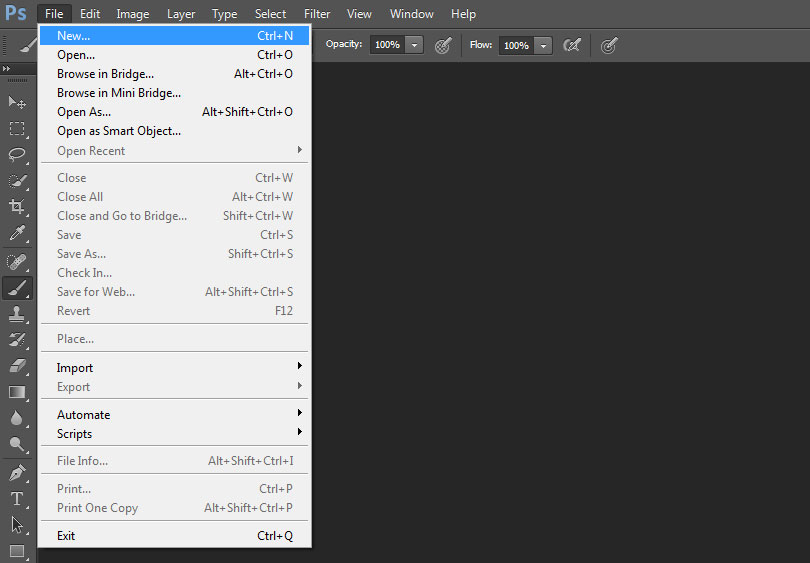
Create a new Photoshop document by going up to the File menu in the Menu Bar at the top of the screen and choosing New. For shortcut, you can use Ctrl + N for windows / Command + N for Mac. Then define your document size and remember to set the Background Contents option is to White.
Step 2: Select the brush tool
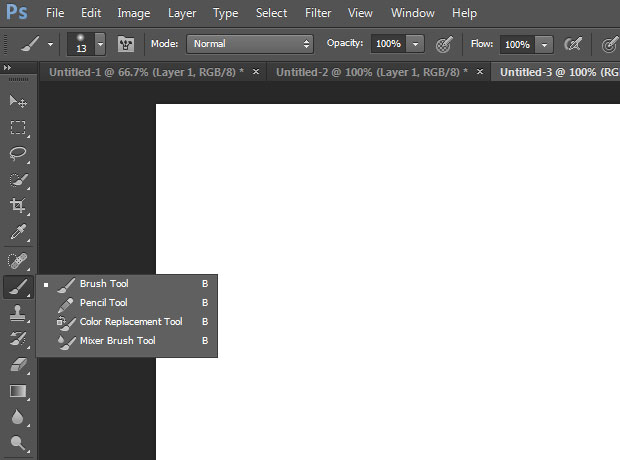
Now create a new brush using one of Photoshop’s built-in brushes. First, select the Brush Tool from the Tools palette, or press the letter B on your keyboard to quickly select it with the shortcut.
Step 3: Select a small round brush
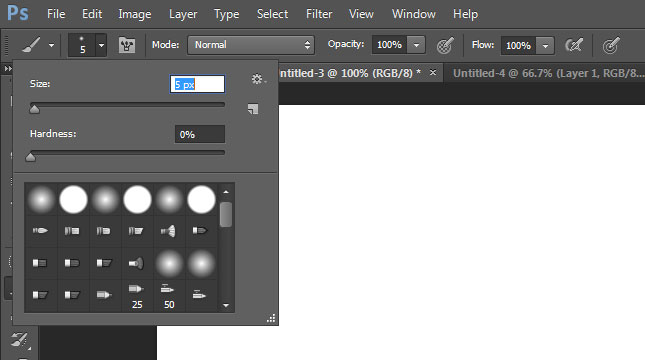
With the Brush Tool selected right-click (Win) / Control-click (Mac) anywhere inside the document window to display the Brush Preset picker, The Brush Preset picker allows us to choose from a list of preset. Select a small round brush from the Preset picker, for e.g. 5px brush.
Step 4: Make Sure The Foreground Color Is Set To Black
In Step 1, we made sure to set the background color of our document to white. It is because all brushes in Photoshop are Grayscale i.e., brush can contain only black, white, or shades of gray in between. So choosing the foreground color as black will make it perfectly visible in white background. If your Foreground color is set to something other than black, press the letter D on your keyboard to quickly reset both the Foreground and Background colors to their defaults (black and white respectively).
Step 5: Paint A Series Of Horizontal Brush Strokes Inside The Document Window

Now from your selected small round brush, click a series of horizontal brush strokes inside the window document. You can also alter the thickness of brush by changing the size of the brush using the handy keyboard shortcuts.
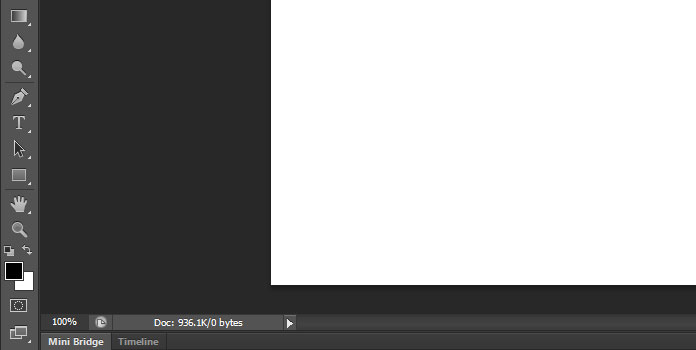
With the small round brush selected and black as your Foreground color, click inside the document window and paint a series of short horizontal brush strokes. For added variety, alter the thickness of the strokes by changing the size of the brush by defining size.
Step 6: Define your brush
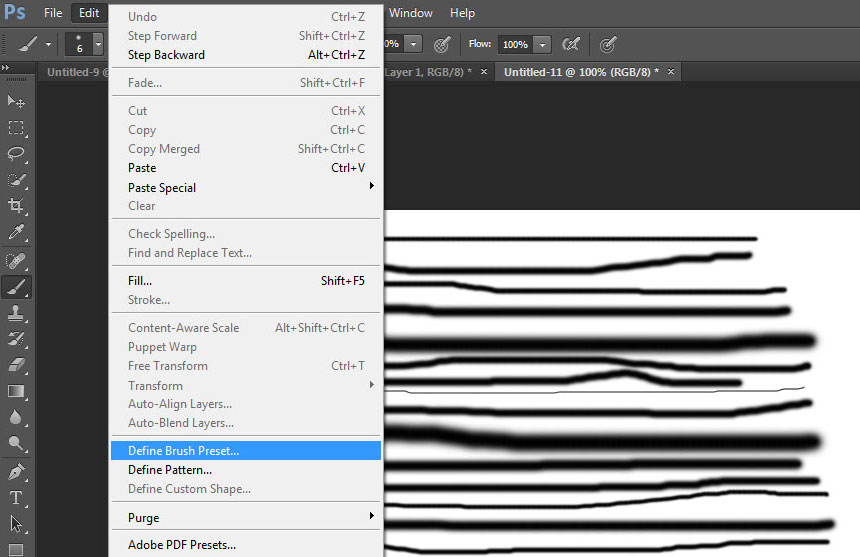
Now you’re ready to make your own brush by navigating to Edit > Define Brush Preset.
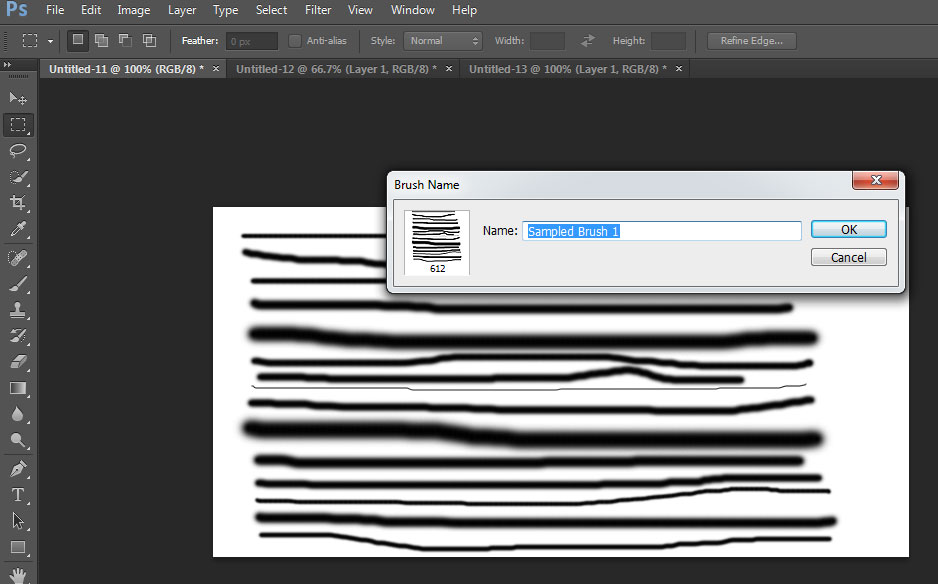
Simply name your brush and you are done!
Select your new brush from the Brush Preset picker.
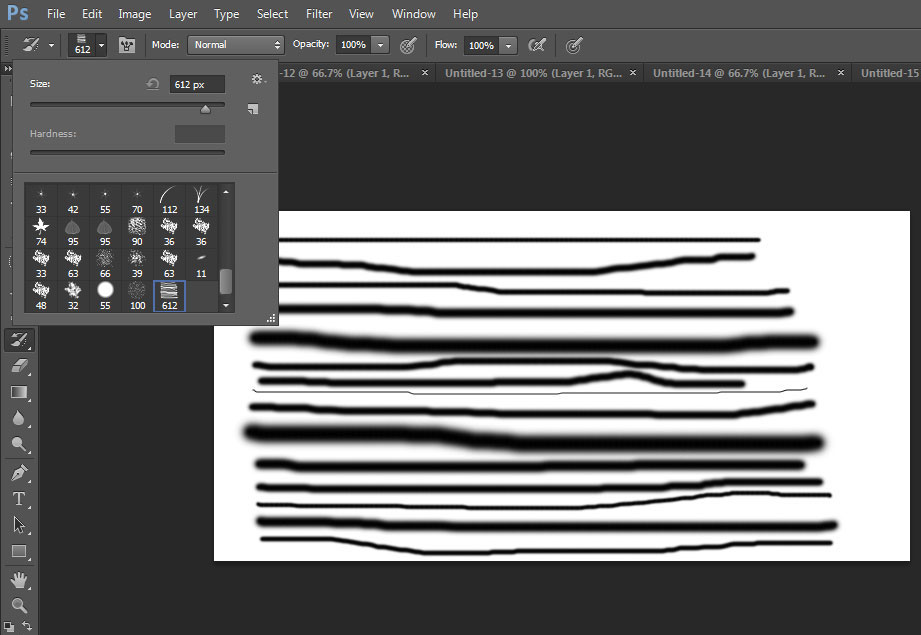
With the new brush selected, simply click and drag inside your document to paint with your custom brush stroke.