Think you need a small fortune to build a professional-looking website? Think again.
In today’s digital landscape, the barrier to entry for web design has practically vanished. While a successful site needs both visual flair and solid functionality, you don’t need an expensive toolkit to make it happen. Whether you’re launching a side project, building a portfolio, or starting a freelance career, the path from concept to a live, polished website is more accessible than ever.
Your biggest asset isn’t your bank account, it’s your willingness to learn. This guide will show you how to create modern, reliable websites on a shoestring budget. We’ll cut through the fluff and focus on practical strategies: understanding core principles, choosing the right free tools, and investing your time wisely.
Step 1: Build Your Foundation (Without Spending a Dime)
Before you open any software, you need to understand the basic anatomy of the web. Don’t worry, you don’t need to master everything at once. Start here:
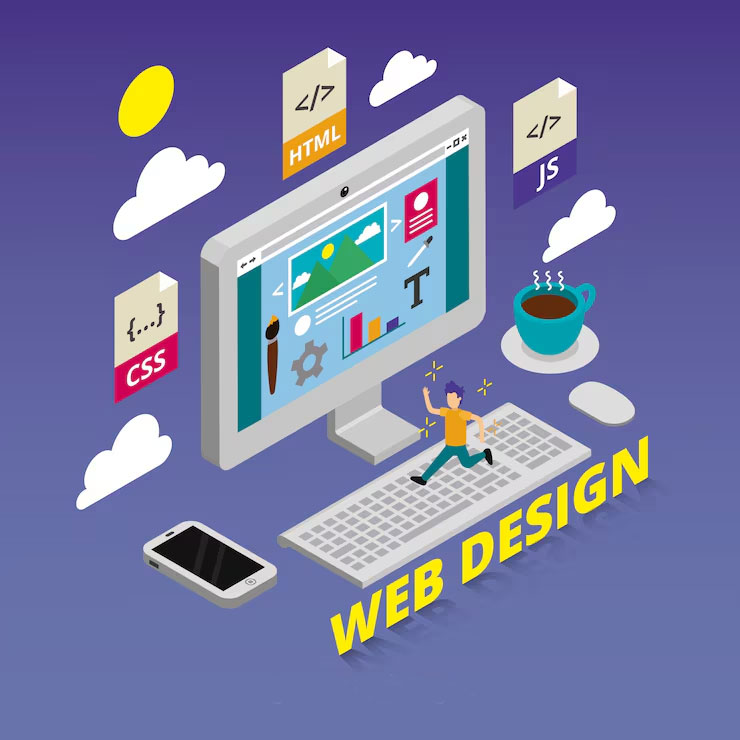
- HTML (HyperText Markup Language): The structural skeleton. It defines headings, paragraphs, images, and links.
- CSS (Cascading Style Sheets): The visual stylist. It controls colors, layouts, fonts, and spacing.
- JavaScript: The interactive magic. It powers menus, forms, and dynamic content.
- Server-side code (like PHP or Python): This handles complex, behind-the-scenes features. As a beginner, you can safely ignore this for now.
Your mission: Focus on HTML and CSS first. They work together to give you immediate, visible results, which is a huge confidence booster.
Step 2: From Idea to Blueprint
Jumping straight into code is a recipe for frustration. Start with a plan.
- Define Your “Why”. What’s the goal of your site? A portfolio to land a job? A blog to share your thoughts? A clean, informational page for a local business? A clear purpose guides every design choice you’ll make.
- Sketch It Out. Grab a pencil and paper, or use a free tool like Figma or Whimsical. Sketching your layout (where the header goes, how the navigation works, where images sit) is like creating a blueprint before building a house. It saves hours of coding dead-ends later.
Your First Site: A Balanced Approach for Busy Learners
Life is busy. Maybe you’re juggling this with a job, family, or coursework. If you’re a student feeling the crunch of deadlines, remember that protecting your learning time is key. Don’t be afraid to use all the tools at your disposal (like study groups or time management apps) to keep your projects on track.
When it comes to actually building your site, you have choices. The best path for you depends on your goals and how much you want to learn about code.
- The Speed Run: AI and Website Builders. These are perfect for getting a professional site live in hours, not weeks. They require zero coding knowledge.
- AI Website Generators: Tools like Design.com’s AI website generator are game-changers. You answer a few questions, and it builds a customized site with text and images for you. It’s ideal for a business or project that needs a web presence now.
- Drag-and-Drop Builders: Platforms like BrandCrowd or Wix offer intuitive interfaces and beautiful templates. They often include hosting, so you don’t have to juggle multiple services.
- The Middle Ground: WordPress. This platform is a fantastic compromise. It gives you more control than a closed builder but doesn’t require you to code from scratch. With thousands of free themes and plugins, it’s perfect for blogs and small business sites, and you can gradually learn to customize it with code as you go.
- The Deep Dive: Hand-Coding with Templates. This path is for the hands-on learner who wants to become a skilled web designer. You start with a free HTML/CSS template from sites like HTML5 UP or Start Bootstrap and then dig into the code to customize every detail. This is the best way to learn how professional sites are built and develop marketable skills.
Choose your path based on your immediate goal: builders for speed, WordPress for a balance of ease and flexibility, and hand-coding for maximum learning.
The Best Free Tools in the Game
You don’t need an expensive subscription. Here’s your new toolkit:
- Code Editors: Your digital notebook. All free and powerful.
- VS Code: The industry favorite, packed with helpful extensions.
- Sublime Text: Blazing fast and lightweight.
- Brackets: Designed with web design in mind.
- Free Hosting: Deploy your site to the live web for $0.
- GitHub Pages, Netlify, or Vercel: These platforms are ideal for portfolios and simple sites. You can start with their free subdomain (e.g.,
yourname.netlify.app) and buy a custom domain (likeyourname.com) later for a small annual fee.
- GitHub Pages, Netlify, or Vercel: These platforms are ideal for portfolios and simple sites. You can start with their free subdomain (e.g.,
- Content & Imagery:
- Unsplash, Pexels, Pixabay: Stunning, royalty-free stock photos and videos.
- Google Fonts: Hundreds of high-quality, free fonts. Stick to 2-3 per project for a clean, professional look.
- TinyPNG: An essential tool to compress your images. Smaller files mean faster loading times, which makes users happy and boosts your search ranking.
How to Learn Design (Without Student Loans)
Forget expensive bootcamps for now. Strategic, consistent practice is what counts.
- Free Learning Goldmines:
- MDN Web Docs: The definitive, authoritative reference for all things web.
- freeCodeCamp: A structured, project-based curriculum that’s completely free.
- YouTube: Channels like Traversy Media, Kevin Powell, and Web Dev Simplified offer tutorials that are often better than paid courses.
- When to Pay for a Course: Only consider paying if the course offers something you can’t get for free: real-world projects for your portfolio, direct instructor feedback, or a clear, structured path you can’t find elsewhere. Read recent reviews first!
- Learn by Building (The Project Path): Theory is useless without practice. Build these:
- A landing page for a fake product you invent.
- A personal portfolio site to showcase your work (even if it’s just these practice projects).
- A simple multi-page blog.
- A responsive site that looks good on a phone, tablet, and desktop.
- Join the Community: You are not alone.
- Reddit (r/webdev, r/web_design) and Discord servers (freeCodeCamp, The Odin Project) are full of learners and experienced devs willing to help.
The Secret to “Professional-Looking” Designs
You don’t need to be a graphic designer. You just need to understand a few timeless principles.
- The Big Four: Focus on Contrast (make important things pop), Alignment (create visual order), Whitespace (give elements room to breathe), and Typography (choose readable fonts). Simple, clear designs almost always look more professional than cluttered, over-complicated ones.
- Customize Your Templates: If you start with a template, make it your own. Change the color scheme to match a brand, adjust the spacing, or add small CSS animations like a subtle hover effect on buttons. These tiny, free tweaks make a world of difference.
So, When Should You Spend Money?
You can go far on free, but a few strategic investments can pay off when you’re ready to level up.
- Worth It Eventually:
- A Custom Domain: For your portfolio (e.g.,
yourname.com), this small cost screams “professional.” - Premium Hosting: Once you have paying clients, reliable, faster hosting is a must.
- A Targeted Course: To fill a specific skill gap you’ve identified.
- A Custom Domain: For your portfolio (e.g.,
- Not Worth It Now:
- Expensive software subscriptions.
- Premium themes when free ones are abundant.
- Multiple courses that cover the exact same beginner HTML and CSS basics.
Build a portfolio of quality projects first. Your work will speak far louder than any certification ever could.
The Bottom Line
Starting your web design journey on a budget isn’t a limitation; it’s the standard path. The real investment isn’t cash: it’s your time, curiosity, and consistency.
Pick a small project that excites you. Find one good resource and work through it. Build something every week. Each site you create, each bug you fix, and each design you tweak will build your skills and confidence. Mastery comes from accumulated practice, not from expensive tools. Now, go build something.
About the Author

Peter Makeshoff
Peter Makeshoff is the founder and main author of Designer Daily.