Blend modes are tools in Premiere Pro that editors can use to combine two or more images into one. If you lay a clip over another in the timeline, use a blend mode to composite them together in different ways. You might be familiar with the use of blend modes in design tools like Photoshop, but blend modes in Adobe Premiere CC are an under-utilized and yet valuable resource. Blend modes can be used to brighten or darken images by changing the exposure, which is what we’ll focus on here.
Because these processes are fairly uniform across design software, and certainly across Adobe products, you’ll find that having an all-round understanding of these blend modes will make your workflow much faster and easier to manage. Read on to learn how to adjust exposure with blend modes in Premiere Pro.
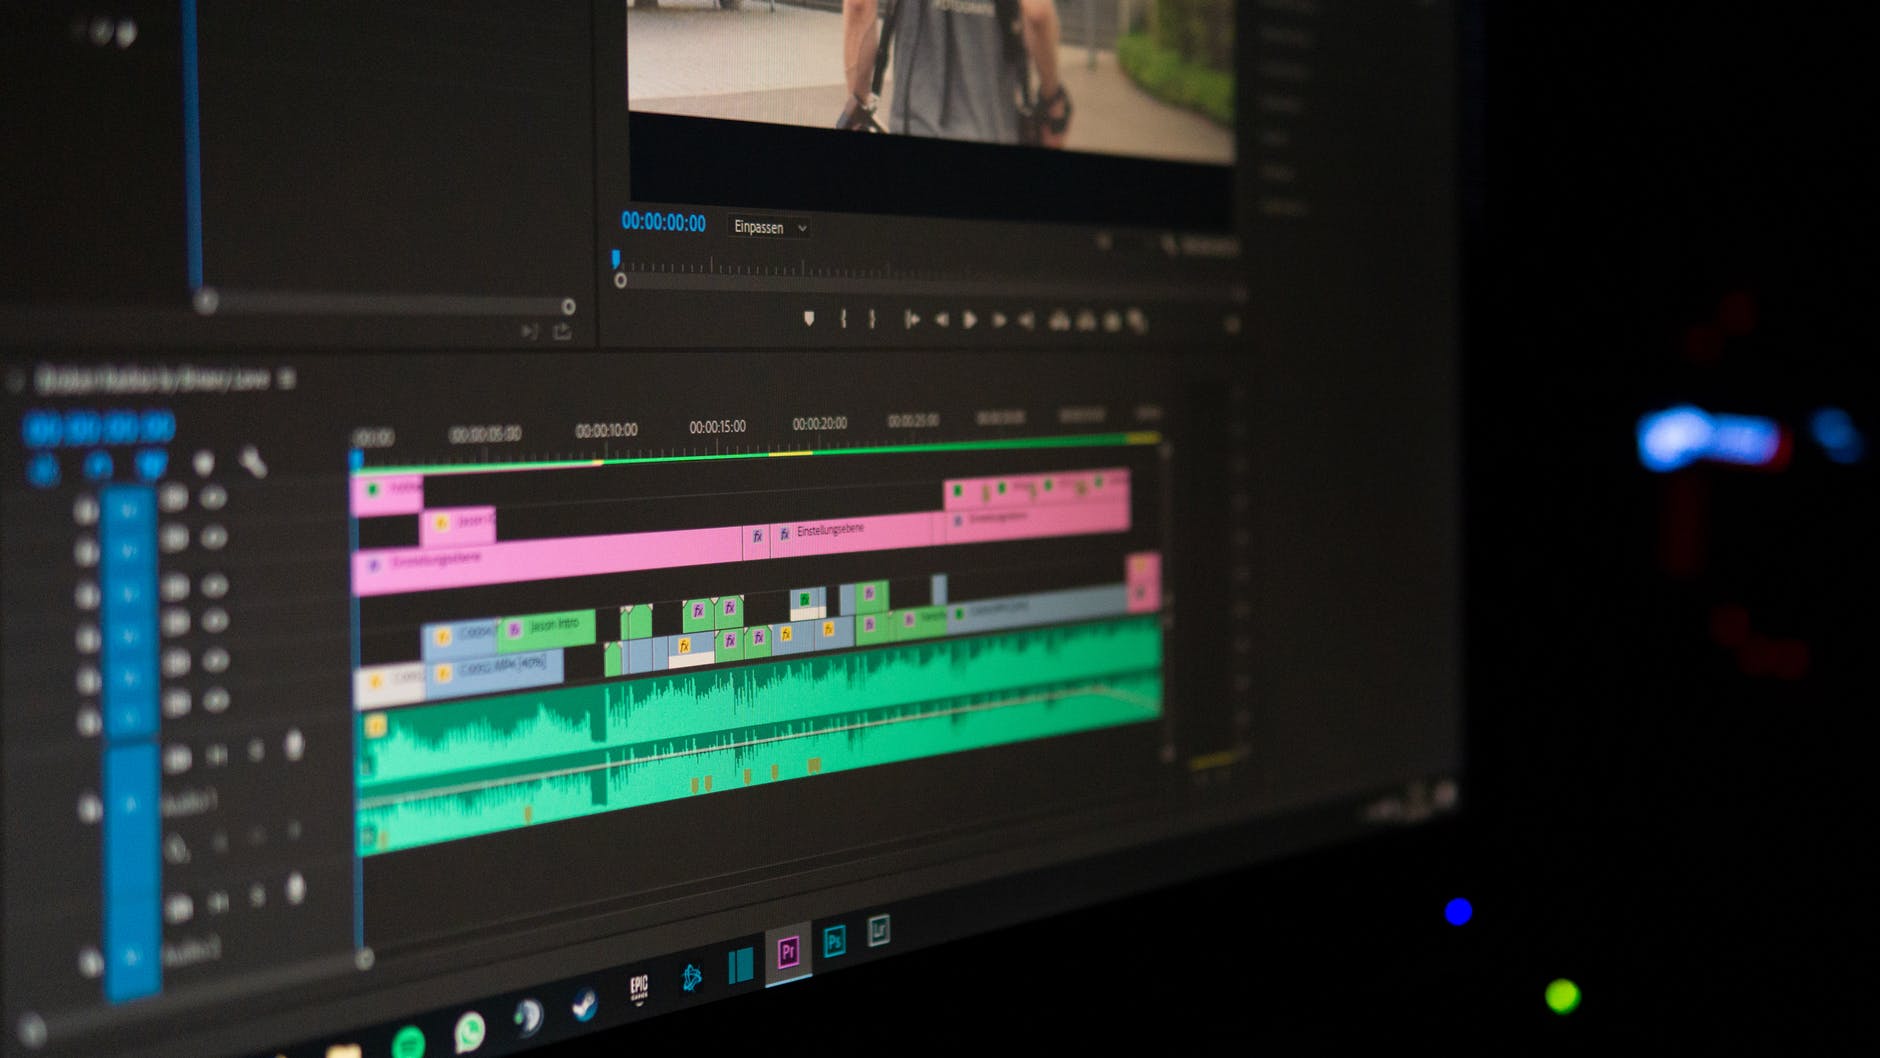
What are Blend Modes in Premiere Pro?
To start with, let’s take a look at the six different categories of blend mode in Adobe Premiere Pro. Within each category is a range of options.
Normal
Normal is the default blend mode which simply combines the frames of two clips on the timeline. You can achieve this by increasing or reducing the opacity of one of the clips, depending on how dramatic you’d like the result to be. Dissolve is an example of a normal blend mode.
Subtractive
Subtractive blending modes tend to combine the colors from both images in the clips and result in a darkened final image. Think of it as like mixing paint on a palette. Examples of subtractive blend modes are Darken, Multiply, Color Burn, Linear Burn, and Darker Color.
Additive
Additive blend modes are – perhaps unsurprisingly – the opposite of subtractive blend modes. These look at the luminosity value of each image and brighten the overall effect. Lighten, Screen, Color Dodge, Linear Dodge (Add) and Lighter Color are all additive blend modes.
Complex
Complex blend modes – Overlay, Soft Light, Hard Light, Vivid Light – vary the results depending on the color and brightness of the base image. It uses the gray data in an image to determine the end result.
Difference
This category of blend modes takes a look at the difference between the colors in both images and creates a result based on that. Using modes like Difference, Exclusion, Subtract, and Divide will generally end up creating colors that are not present in either of the original images.
HSL
HSL (hue, saturation, luminosity) transfers one or all of those three pieces of information from the base image to the underlying one.
The advantage of using blend modes is that you can create new color outputs depending on which option you choose and which images you are merging together. This can alter or enhance your video footage dramatically, creating some exciting effects. Use blend modes in color correction or to add texture and light effects in your motion graphic design.
Color correction is a straightforward process thanks to blending modes, and lets editors adjust the exposure of an image by darkening or brightening it.
Let’s take a look at how to darken an image using blend modes in Premiere Pro.
Darken an Image Using Blend Modes
For two images to blend, you firstly need to layer two images on top of each other. Duplicate a clip and lay the second clip over the first one on the timeline, in the channel above. When changing the blend mode of the top layer, the two images will merge, creating a composite image that changes depending on the blend mode you choose.
To darken an image, choose a blend mode from the subtractive category. This mixes the colors in the two images, creating an outcome that is considerably darker than the original. Experiment with various subtractive blend modes until you find the result you are looking for. Try using Darken, Multiply, Color Burn, Linear Burn, and Darker Color.
Now let’s say we want to do the opposite – lighten a dark image. How does the process change?
Brighten an Image Using Blend Modes
To increase the exposure of an image using blend modes, try using modes from the additive category. These blend modes brighten the overall image using the luminosity value.
Simply do the same thing again – duplicate the clip on the timeline, lay it over the top in the channel above the original clip, and change the blend mode in the Effects Controls panel. This time, choose a blend mode from the additive category, such as Lighten, Screen, Color Dodge, Linear Dodge (Add) and Lighter Color.
Isolating Parts of the Image When Using Blend Modes
So you’ve tried different blend modes to change the brightness of the entire image. But what about if you need to darken or brighten a specific part of the image? Maybe a doorway or window is over or underexposed. This is the time to utilize masks to identify and isolate specific parts of the image.
Use a mask under the opacity section to isolate certain parts of the frame from the background, effectively cutting out a hole in the top layer. Try using a rectangle or ellipse tool if you need a broad part of the image, or use the pen tool to isolate a specific shape.
Choose the blend mode that gets the results you need. If the difference is too obvious, fine-tune the shape by tweaking the opacity percentage and by using the feather function on the mask to blend the edges with the rest of the image.
_____
Blend modes in Premiere Pro are a powerful tool for video editors, and can significantly enhance the color grading process. The best thing to do is to spend some time getting used to the different blend modes and how they affect different clips. Improve your editing skills and enhance your workflow with the help of Adobe Premiere CC tutorials from Motion Array.
Of course, the priority for any filmmaker should be to get the perfect shot when out on location, but if you find yourself spending longer in post-production to improve it, using blend modes is a great place to start.
About the Author

Mirko Humbert
Mirko Humbert is the editor-in-chief and main author of Designer Daily and Typography Daily. He is also a graphic designer and the founder of WP Expert.