
For most designers you will have had the question, “can you fix this photo for me?” asked at more than once in your lifetime. Whether for family or friends, or that one design job that requires you to retouch an image, here is a tutorial that will help you enhance and retouch a photo.
In this tutorial I will be retouching the photo with techniques including the healing and clone brush, using adjustment layers, liquifying and color burn and dodge.
I have selected a photo from a free stock photo site called, stock.xchng.
Here the photographer is ‘Trublueboy’, his profile can be viewed here: http://www.sxc.hu/profile/trublueboy and also his Flickr stream.
So download this image or another so we can start to retouch and enhance a photo!
Step 1:
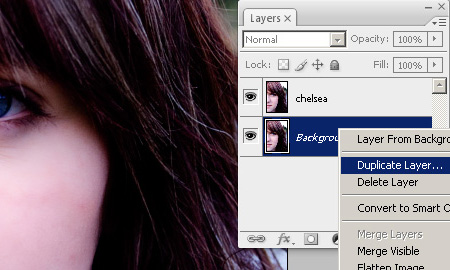
Open the image in Photoshop and then duplicate the background layer. This can be done by right clicking the layer in the Layers Palette and selecting, ‘Duplicate Layer. Remember for good design practice rename your layers to something obvious, here I have named it Chelsea after the name of the image from Trublueboy.
Step 2:
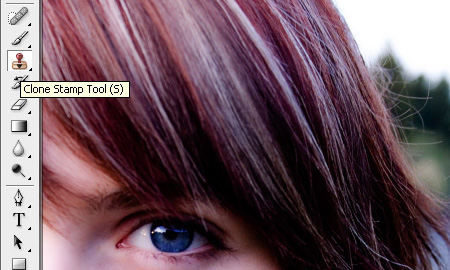
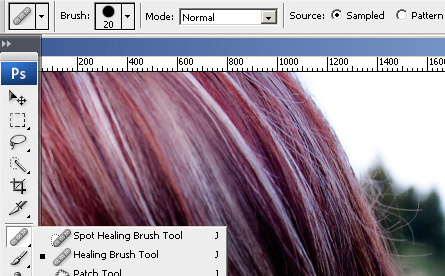
Now we will get onto cleaning the image. By cleaning, I mean removing spots, blotches and wrinkles if any. To clean the photo, use the Clone Stamp Tool (S) and Healing Brush Tool (J). With either these tools press alt while selecting an area that is smooth to clone or with the healing brush tool clicking alt to define a source point to be used to repair the image.
Step 3:
Now that the image is clean lets use some Adjustment Layers to help boost the color and levels. Select the layer in the Layers Palette and then click the button that resembles a circle half black, half white. This icon should be located at the bottom of the Layers Palette. Click this and select Levels, now adjust the toggles to get the right lighting for the shadows, mid-tones and highlights.

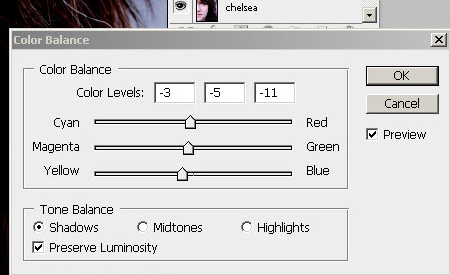
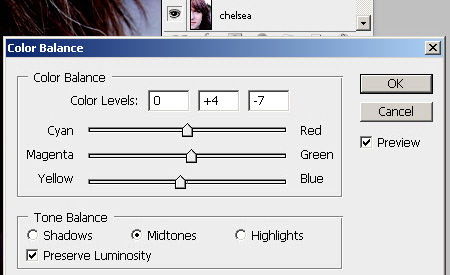
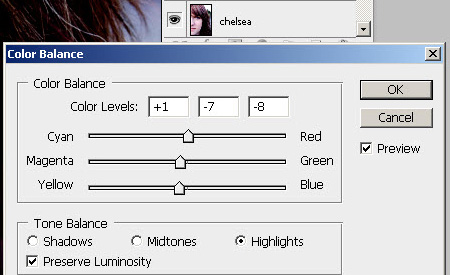
Next we will add a Color Balance Adjustment Layer. So select your layer and then click the Adjustment Layer icon, then select Color Balance. This will bring up the dialogue box, with this select each shadow, highlight and mid-tones and move the toggles to achieve a richer color. Here I wanted to produce a much richer, warmer color, as outdoor photography can sometimes have quite cold color tones.
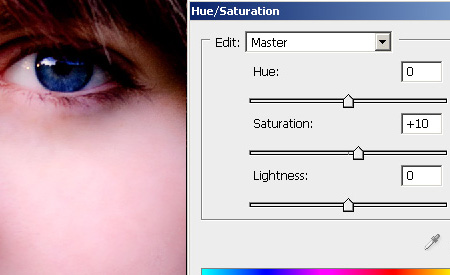
The final Adjustment layer is the Hue/Saturation Layer, add this and then toggle the saturation bar to be slightly higher, this will make the colors stand out much more.
Step 4:
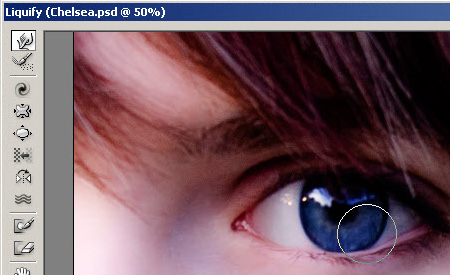
Time for some surgery! Or in Photoshop’s case, Liquify. Here the use of liquify we will make her lips fuller and eyes slightly rounder. Select the layer and in the top menu bar select Filter > Liquify. Use the tool now to push out the tops and bottoms of the lips to create more fullness in them and also increase the roundness of the eyes.
Step 5:
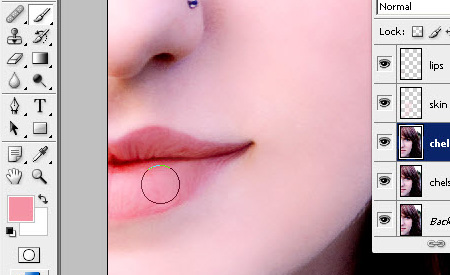
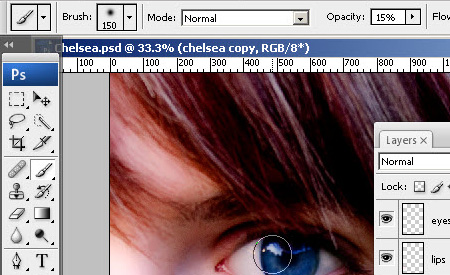
Now we get onto the retouching section. Create a new Layer (Shift + ctrl + N or Command + ctrl + N). Here we will airbrush with the Paint Brush Tool (B), to give her a more glowing complexion. So select the Eye Dropper Tool (I) and change the sample size to something bigger say around 30-40px average. Select somewhere that is the right skin tone and with the Paint Brush Tool (B), on a soft brush of around 300px and at 15% opacity, paint on areas to smooth the complexion. Remember to keep re-sampling the area with a new tone with the Eye Dropper Tool to get the right tones for airbrushing.

Do the same for the lips and eyes and hair, remember to create them on a new layer so that the colors do not run over each other.
Step 6:
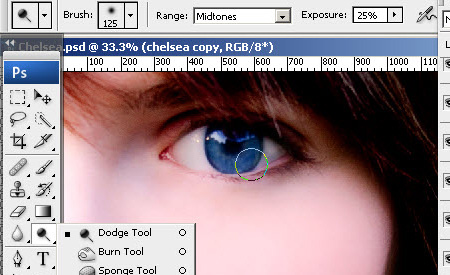
Next on the agenda is to add some highlights to certain areas. This is going to be done with the Dodge/Burn Tool (O). Select the Dodgy Tool (O), this tool will make areas lighter, so apply to areas such as the eye iris, hair highlights, and skin areas to enhance the glow and lines of the photo.
Next use the Burn Tool (O) to make certain areas darker, so the line of the lips and the eye lashes and brow, as well as areas of the hair.
Step 7:
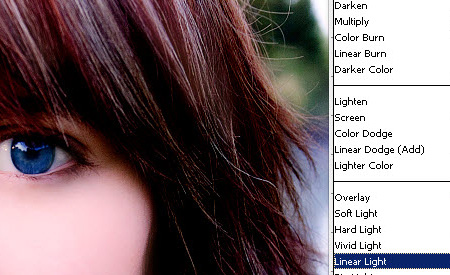
The last enhancing Photoshop effect is the High Pass Filter. This filter extracts high frequency detail from the image and when coupled with a Layer blend Mode it can give some great detail to an image.
First off duplicate the Chelsea Layer, this can be done by right clicking the Layer and selecting ‘Duplicate Layer’. Then in the menu bar at the top, go Filter > Other > High Pass Filter, then toggle the bar to around 2 pixels, you can go higher and experiment what level is best for you, but the more pixels in the High Pass Filter the more sharp and grainy it will become.
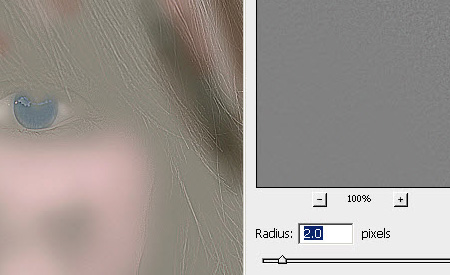
Next set this Layer to Linear Light, this will allow the sharp areas and highlights of the High Pass Filter layer through. Essentially it is burning and dodging areas of the top layer through to the bottom. This filter is great for giving back some texture and detail after all the retouching to restore the photo to a more real look.
Final Thoughts:
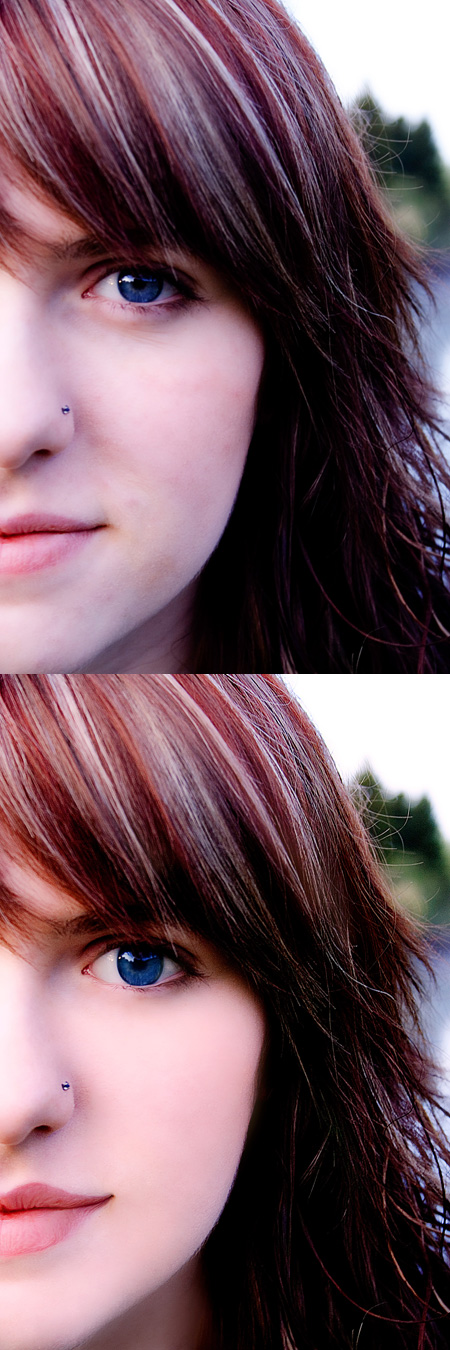
So here we have it the original and the retouched. As you can see the big difference made from some great filters and blend modes in Photoshop.
About the Author
Mirko Humbert
Mirko Humbert is the editor-in-chief and main author of Designer Daily and Typography Daily. He is also a graphic designer and the founder of WP Expert.