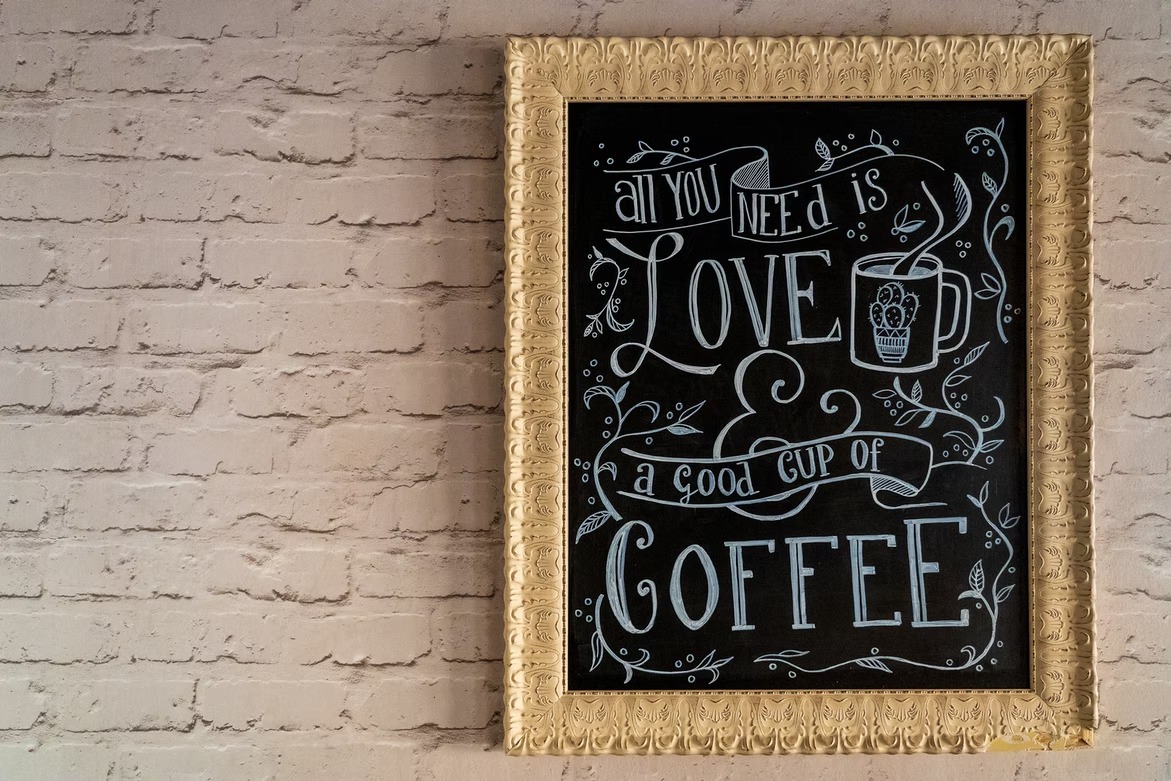
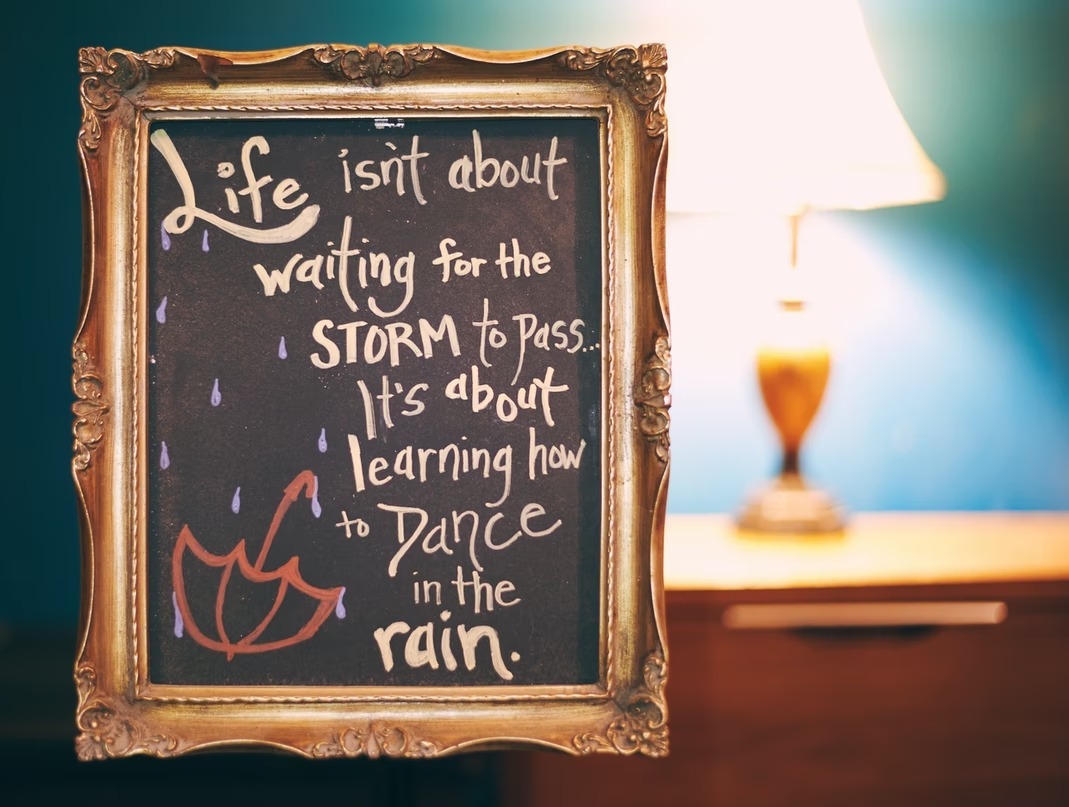
Nobody can resist the adorable look of a chalkboard design! Especially, when it’s masterly incorporated into an interior design, highlighting the coziness. How about making your own chalkboard prints to decorate anything?
Defining a printable is an easy task — it might be a set of handouts, business cards, invitations, inspirational posters, collages, book covers, and more. Only the dimensions differ, the rest comes with more or less similar creative process. Among the possible themes and styles, chalkboard printables take a special place. These are not necessarily school-related materials, it’s a rather old-fashioned vision of things. A chalkboard styled design is full of handcraft feel, as well as some personal touch. Remember the cafe menus or celebration venue sites with chalkboard signs placed, giving a magnificent sense of wholesomeness.
You don’t need to have an actual blackboard with drawing chalk to bring the same impression, a well-crafted printable would be just right! What exactly do you need to carry our a chalkboard printable design? There’s a couple of simple steps and instruments to achieve your desired goal in no time and amaze everyone with comforting rustic vibes: background texture, chalkboard font, and a program to edit everything.
Getting Inspired & Prepared
Collecting references is an important step of building a project, as it shapes the future idea. Who goes on a trip without a map? Consider this preparation step to be your course-setting stage, figuring out what you’d like to achieve and what’s required for it. A great source of inspiration might be found on Pinterest, Unsplash, Behance, Instagram and from a simple Google search. Make a list of the main points you need to keep in mind before embarking on a project:
1. The purpose
What are you designing and for whom? Is it a lovely collection of postcards? Or maybe a wedding banner? Who’s your audience? These factors affect every further step, so define your situation of use and a target audience, so there’d be no ambiguity whatsoever.
2. The format & style;
Having established the basic information about the printables, decide on a format. Small business cards or invitations shouldn’t have too complex or tiny details, they simply won’t be visible. As for large-scale pieces, adding something too thin or minimalistic wouldn’t put the spacing to good use. A well-chosen strategy always pays off!

Selecting Digital Assets
Any printable design starts with a digital one, so you’ll need the essential elements to compose a concept draft, aimed to be printed. The main resources you’ll need to get are blackboard textures & a suitable chalkboard font to write your message with. Let’s deal with everything one by one.
What kind of background texture do you need? Bet you’ve never speculated on the matter of a blackboard’s color; however despite its name, this material for writing can be of so many shades: black, dark green, light green, dark blue, blue, etc. On the whole, they all are made the way any white (or maybe colored, why not) chalkboard font would be visible & distinguishable. Stick to your preferences and you won’t miss!
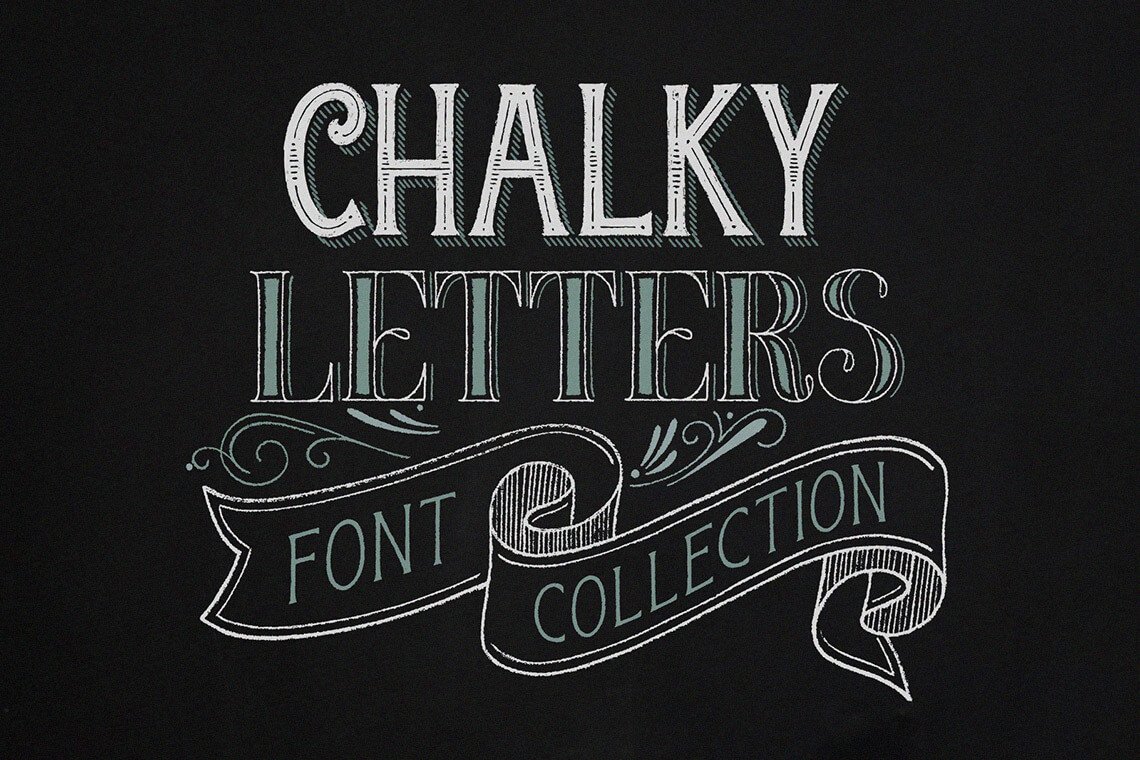
As for the chalkboard typeface, don’t hasten to pick it instantly. First off, the decision must be made on a style of the carried out design as script fonts look more elegant & delicate, sans serif typefaces have a modern appeal to them, and decorative ones might come in any cartoonish or western-like style. Such a diversity of options to dive into! Discover them all in a collection of chalkboard fonts, featuring both free and paid options.
Putting Everything Together
With a selected background and typeface, the turn has come to assemble it all together in an almost-ready composition. Of course, the best solution in terms of software would be using Adobe Photoshop or Photoshop Elements, allowing to easily insert the collected assets into an artboard and export the printable design in a required format.
Before doing anything design-related, go install the downloaded chalkboard font. It’s done by double-clicking the selected typeface and choosing “Install Font”. Then go to Photoshop to create a new document, setting the artboard dimensions, then drag & drop your chalkboard texture (it might be vertical or horizontal), then select Type Tool. Here you either type the phrase or word, select it and pick the font or do the opposite — pick the typeface and only then start adding letters to the blackboard.
When you’re done, go to Photoshop menu and pick Edit > Save As, set the file format and it’s ready to be saved! You can save your image in JPEG or PDF — these are the most common ones for preparing a print-aimed material. If you don’t have a Creative Cloud subscription to use Adobe products, no worries, there are so many Photoshop alternatives out there (free and paid ones) like Gimp, Pixlr X, Photopea, Photos Pos Pro, and other ones.
Don’t be afraid to experiment by adding illustrations, decorative elements and other additional objects to your printable design. Also, it would be helpful to have a copy of your asset saved somewhere on a computer for any purpose in the future. Whatever cause fostered your chalkboard printable items to be carried out, the main judge is you, of course.
About the Author
William Nunez
Experienced content creator, a writer based in Pittsburgh, PA, United States of America. I am inspired by the people I communicate with. I love my job and constantly develop my skills. New challenges are moving me forward. LinkedIn