Every business needs to reasonably come up with a forecast or an estimation of their products or services. This is especially true for manufacturing or processing ventures as there will be a lot of variables to ensure that you can fulfill orders. A Material Requirement Planning system is a concept that allows you to oversee, control, and manage inventory, production, and scheduling of said materials to meet the demands in a timely manner. So if you’re looking to efficiently run your business, here’s how to set up an MRP System:
1. Defining Products and Its Parts
First is you will need to define what product or products you will make in your assembly line. Create a well-defined bill of goods that you will incorporate into your product, including labor and materials. Small businesses can leverage the best MRP software solution to get the comprehensive features needed to perform an MRP without incurring hefty overhead. This makes it simple for a business owner to input the necessary materials and labor costs that would create the product itself.
If you’re going to make a coat hanger, you’re going to need hooks and a stand or board to anchor your hooks on as well as varnish. This involves identifying the supplier, its costs, labor costs, and packaging. You will be looking at raw materials at this level and calculate how much you’re going to order from your supplier. You will also need to look at discount rates for bulk orders to save on costs. Moreover, if you’re in the food industry, integrating clean-in-place systems into your manufacturing process is crucial to meet sanitary conditions and ensure product safety. Incorporating CIP systems into your MRP software allows you to streamline production planning by scheduling cleaning cycles alongside production runs. This integration optimizes resource allocation and minimizes downtime, improving overall operational efficiency and compliance with industry regulations.
2. Bill of Materials
Defining the bill of materials looks at what you’re going to need for a single order of your product or products. From the example above, a coat hanger can have three brass hooks, one wooden stand, and a pint of varnish. When creating a bill of materials on your MRP System, you’ll need to specify the measurements above as it calculates material cost and updates inventory stocking when production is on its way.
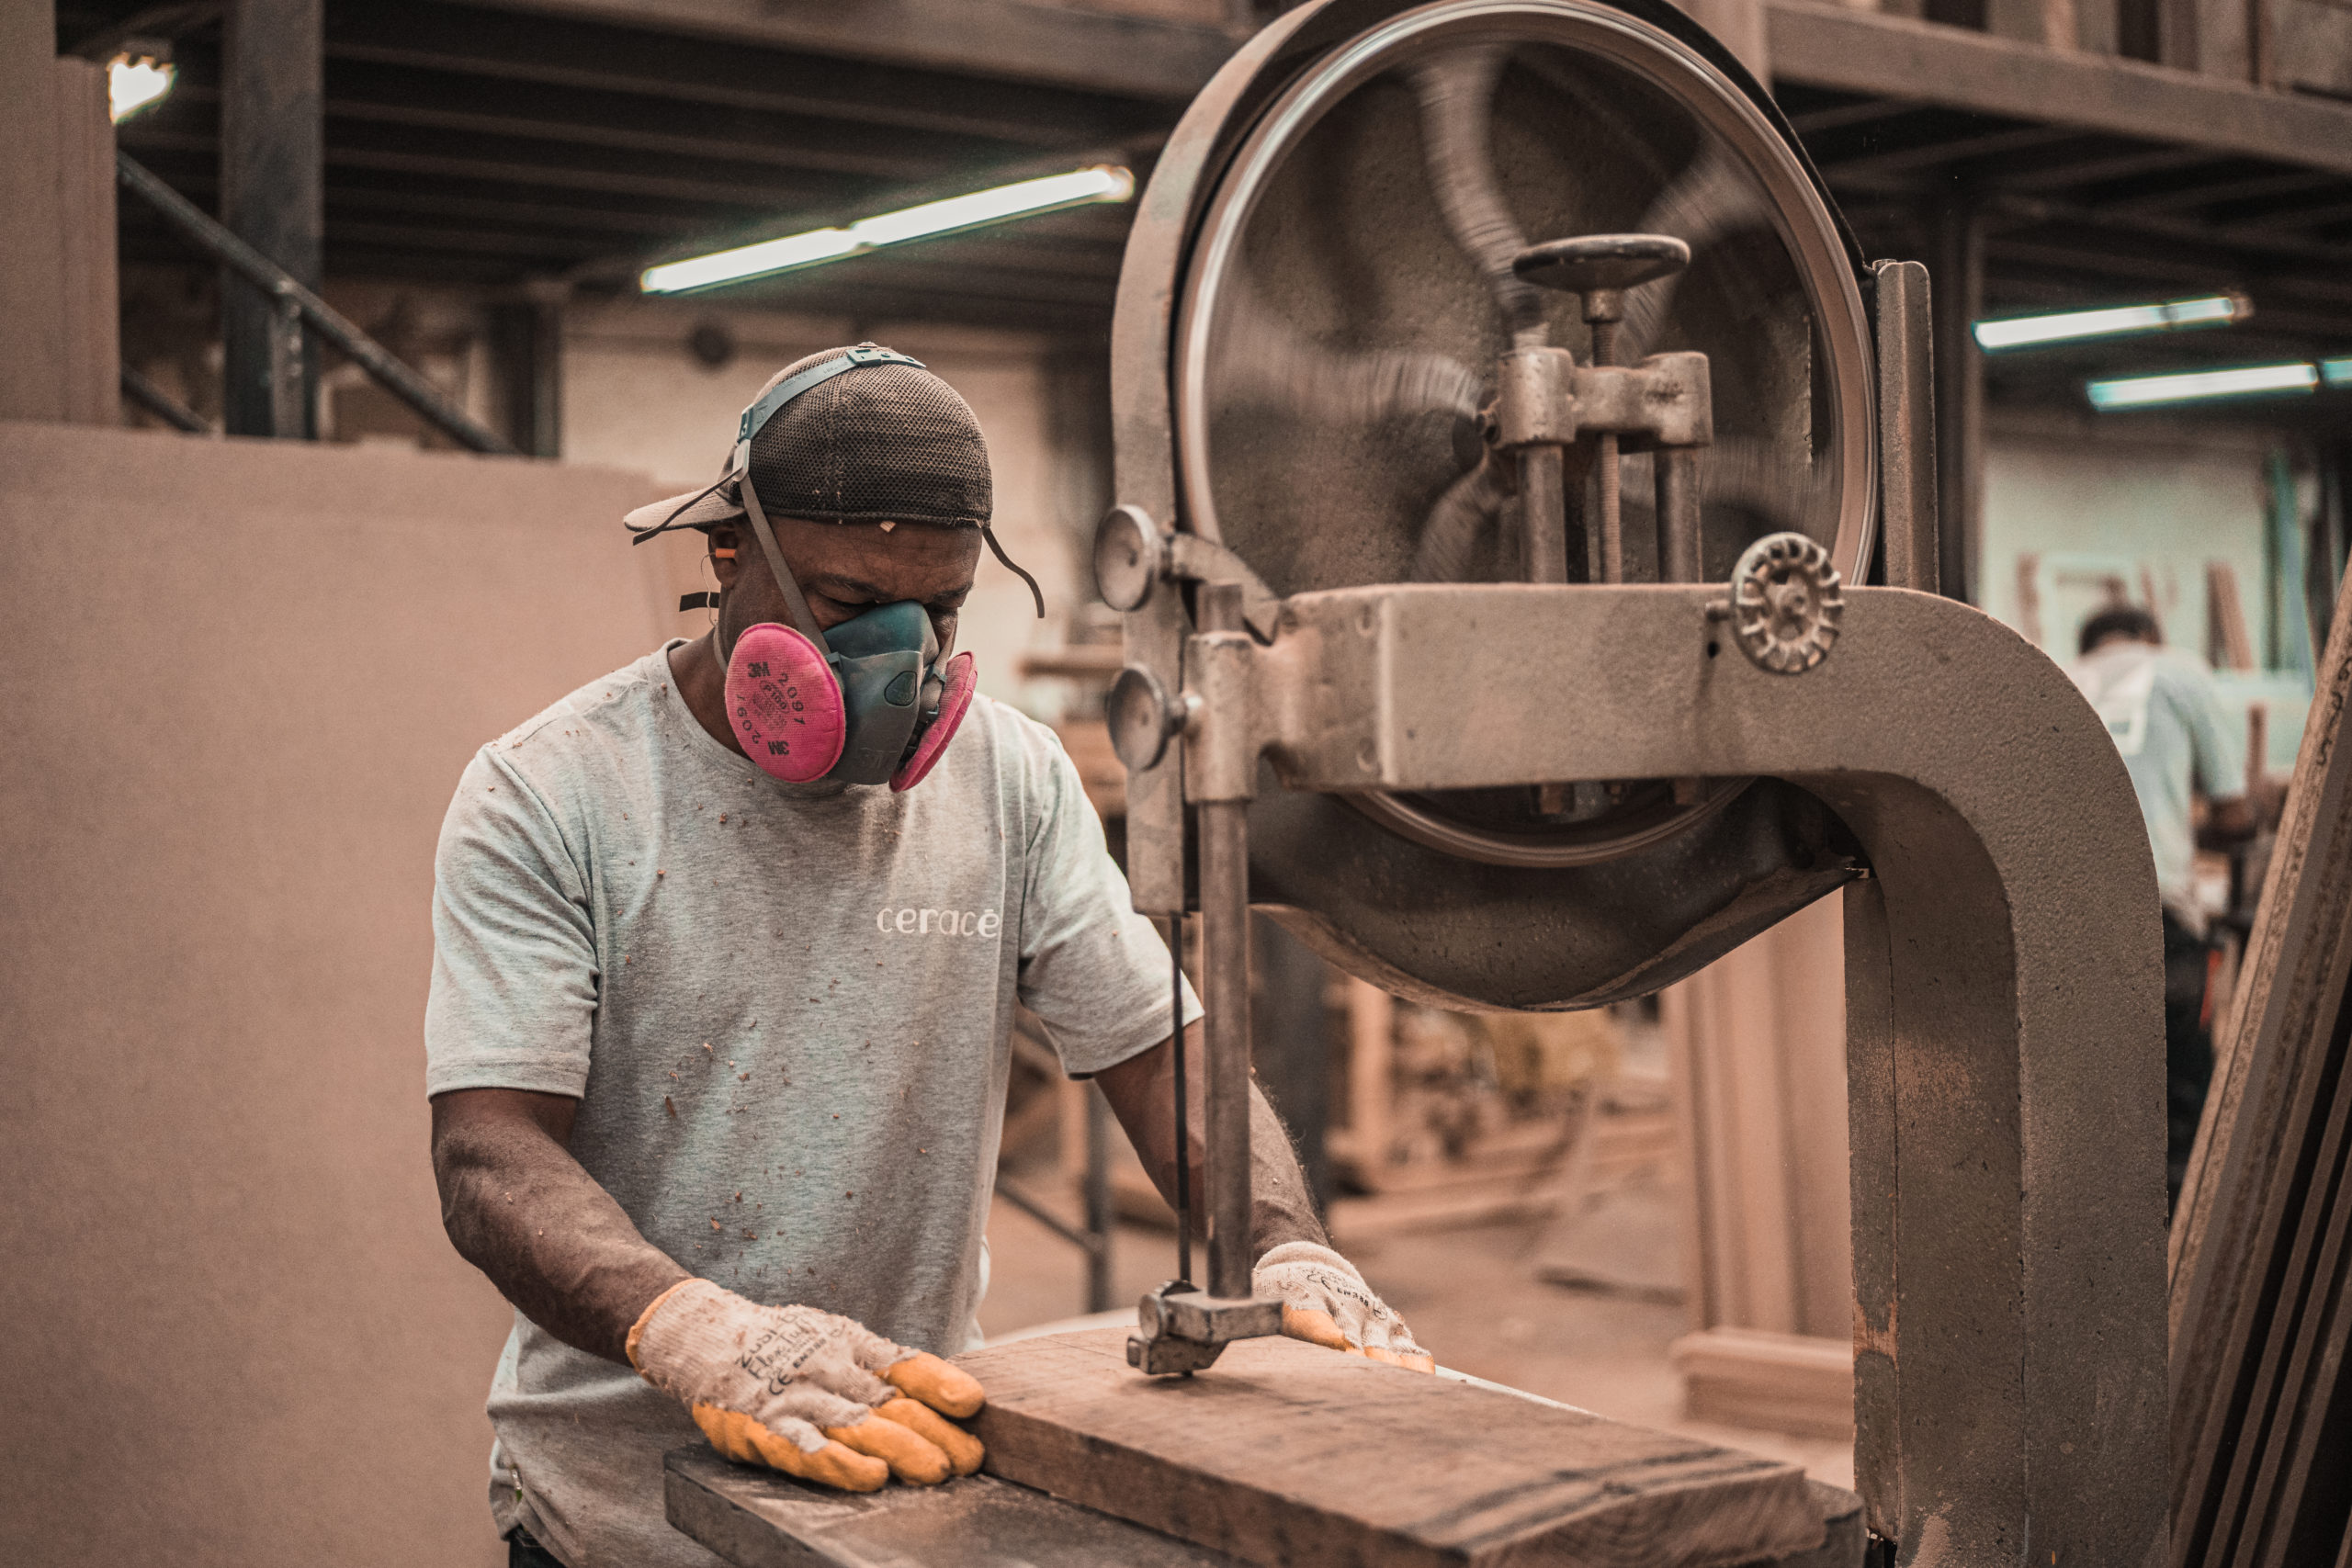
3. Routing
Routing is when you assign the workstations or assembly lines for each material to create the product. At this stage, you’ll be allocating the required parts from the bill of materials and put them in the workstations assigned to work on them. It’s important that you identify the lead time of the respective process to get a better view of the schedule and costs from labor.
4. Multi-level Bill of Materials and Routing
For complicated products that would require both products and raw parts to create, you will have to create a multi-level bill of materials. This sort-of nested bill of materials will create a schedule of jobs on the workstations and allocate the necessary part or product before moving into the next one to create a bigger assembly.
The goal of an MRP is to clearly define the scope and responsibilities as well as the materials needed for each product and its schedule. However, to make the system successful, you will have to enter accurate data and update it timely. This will save you the cost and hassle when you want to change your system in the future.
About the Author

Peter Makeshoff
Peter Makeshoff is the founder and main author of Designer Daily.