Building a website used to be very challenging in the past, especially if you had nothing to do with IT. Not anymore! Today anyone can make a website in as little time as possible with the help of website creation tools available on the Internet. The multitude of tutorials and ready-made templates can help newcomers to the website up and running.
Let’s build a website together to show you how easy and simple it can be regardless of technical skill level.
1. Choose a domain name/URL
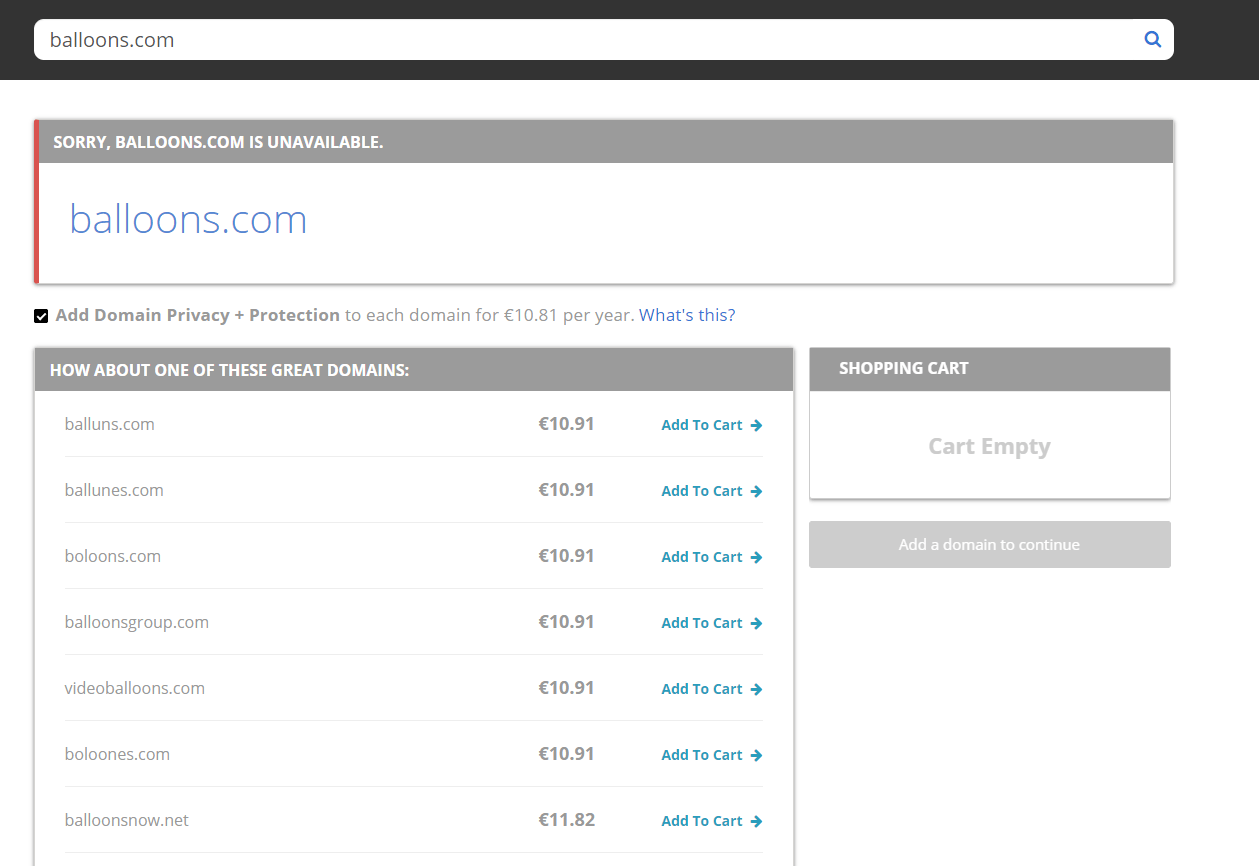
Before you start with the content creation you will need to find a suitable name for your site and check whether it is free to use and not taken by another person or business. Make sure you choose something related to the website content, goals and missions, it is short and memorable.
In this article, we will be creating a website offering balloon decorations for any event or party. The most suitable keyword here is balloons, let’s see if the name is free to use. Bluehost or GoDaddy are domain registrar and website hosting companies, where you can check whether the domain is available, buy it and host at the same place. Unfortunately, balloons.com is taken, however, the registrar is offering other domains for our choice. What about balloonsgroup.com?
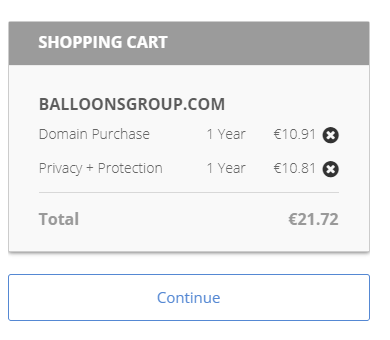
Adding to the cart and proceeding to the checkout.
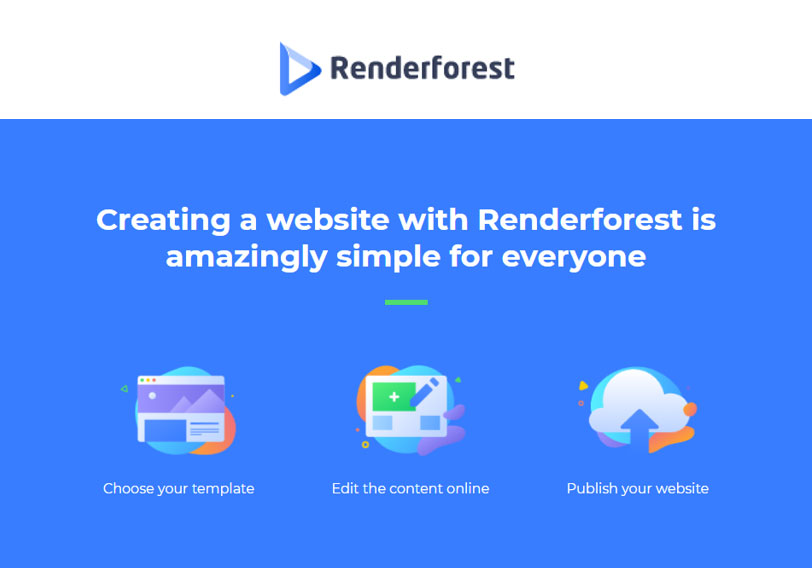
2. Choose your website builder
The reason why we turn to website builder is because of its simplicity, usually, it is a drag-and-drop option within your favorite browser. There is the number of website builders that allow you to build a working landing page, but not all tools are created equally good. How to choose the one that suits the best for you? We suggest using Renderforest, it has everything you need:
- easy-to-use tools;
- ready-made layouts without any coding skills;
- simple editor;
- logo creation option;
- domain creation and renewal of the certification of the custom domain;
- 24/7 support;
- It’s free if publishing on Renderforest subdomain;
- Unlock custom domain and host for only $5.99 per month;
- 5gb storage;
- Email forms and subscriptions;
- Google Analytics and SEP tools;
- Adding Facebook pixel code for customized ads.
Renderforest is by far the best choice for building a simple website for free or access more powerful features for an extra price which is as little as just $5.99/month. You get instant access to any feature you need and have a 24/7 support in case of questions.
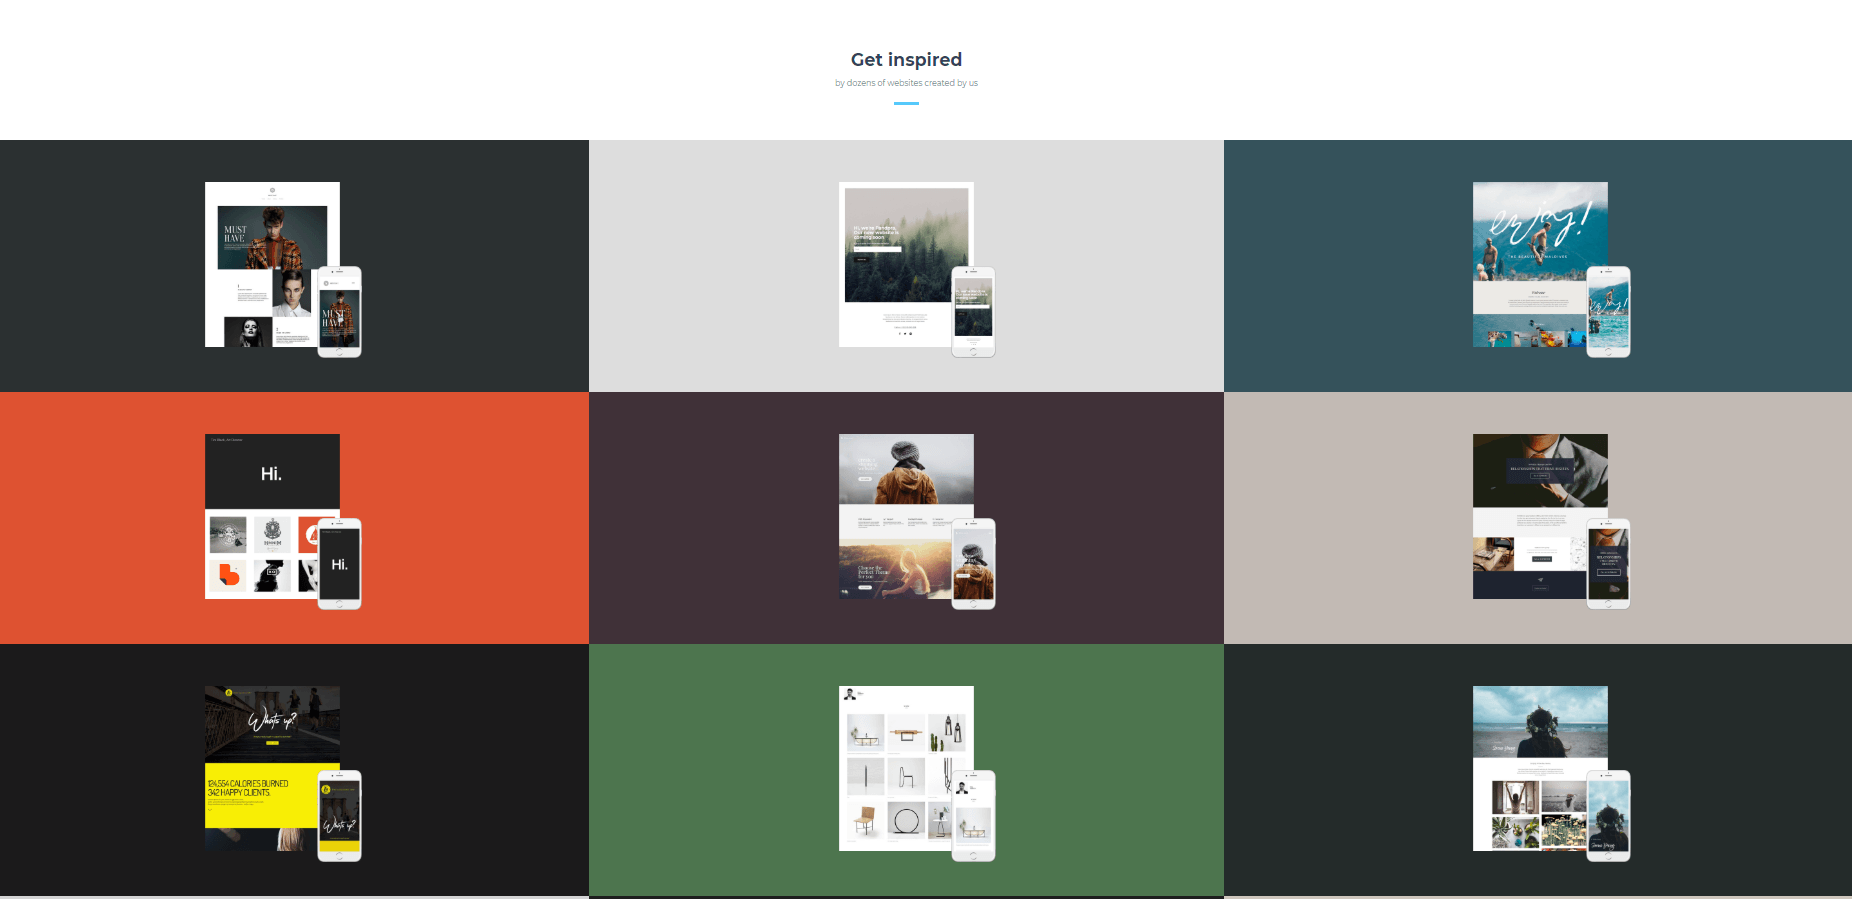
3. Pick your template
There are more than 100+ ready templates and layouts for various industries and needs, starting from Product and ending up with Fashion and Beauty. Think of a template as a cover of the book which needs to catch attention and prepare the reader for the content they will receive when scrolling down. Choose different templates and wear them on your product to find the most suitable frame here – use the preview option. All of the templates are free of charge, if you don’t find the right layout create one from scratch – select option Create from blank.
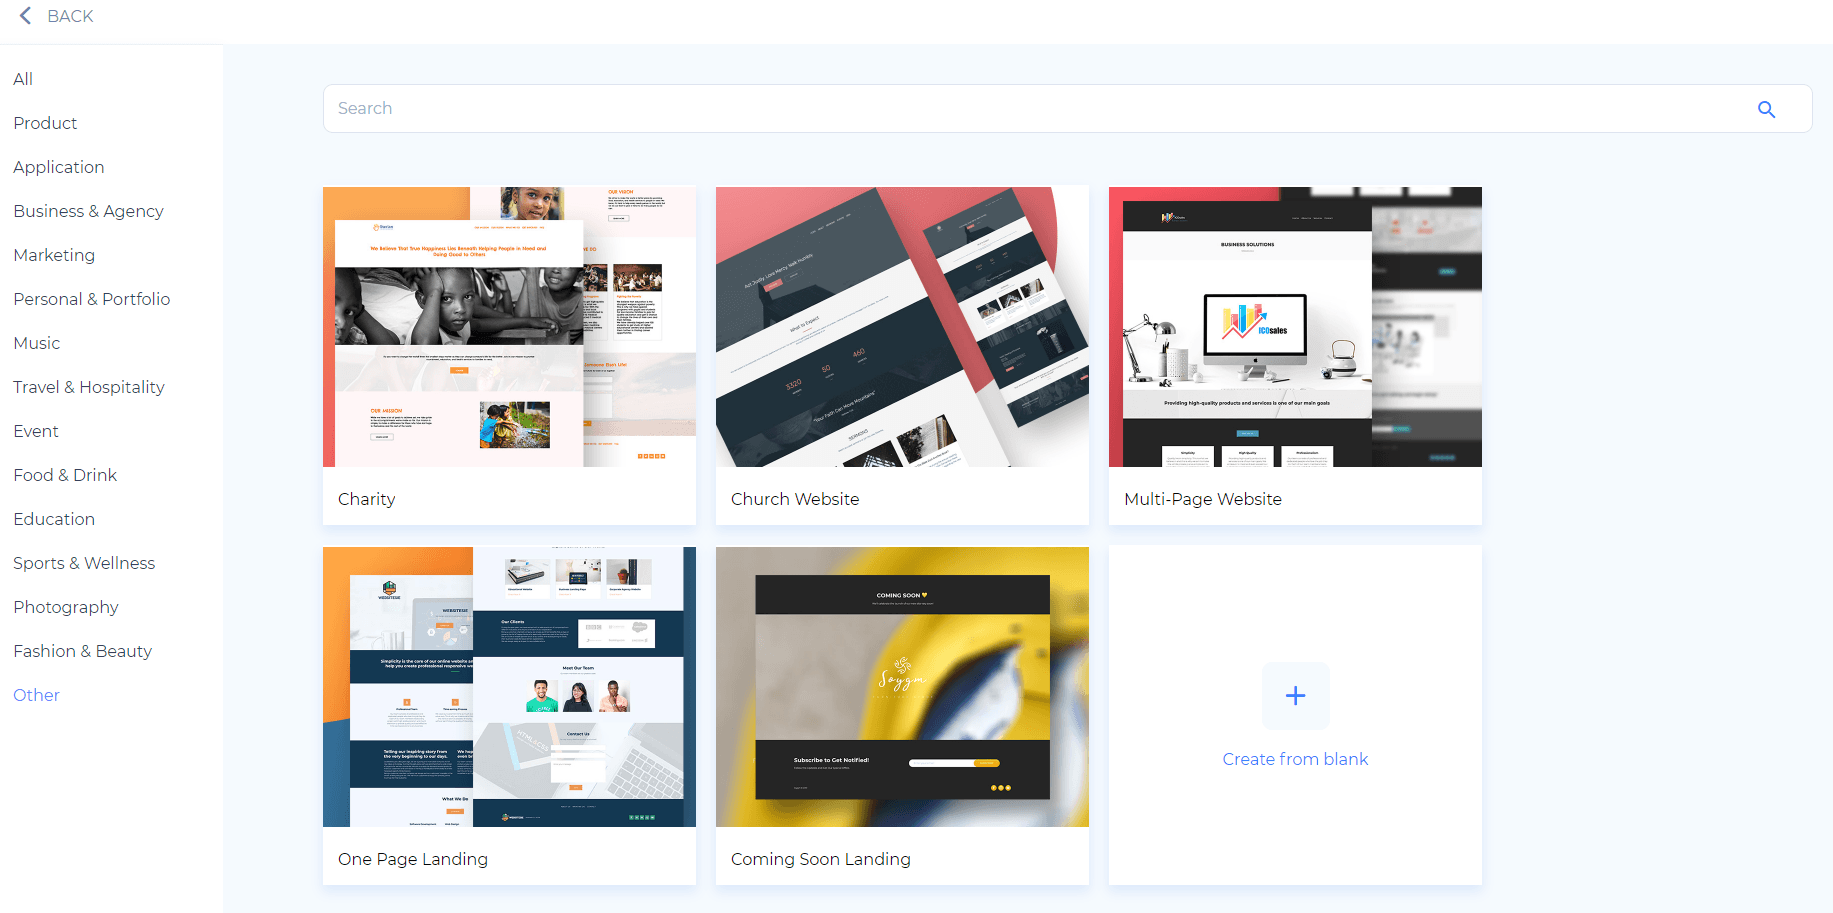
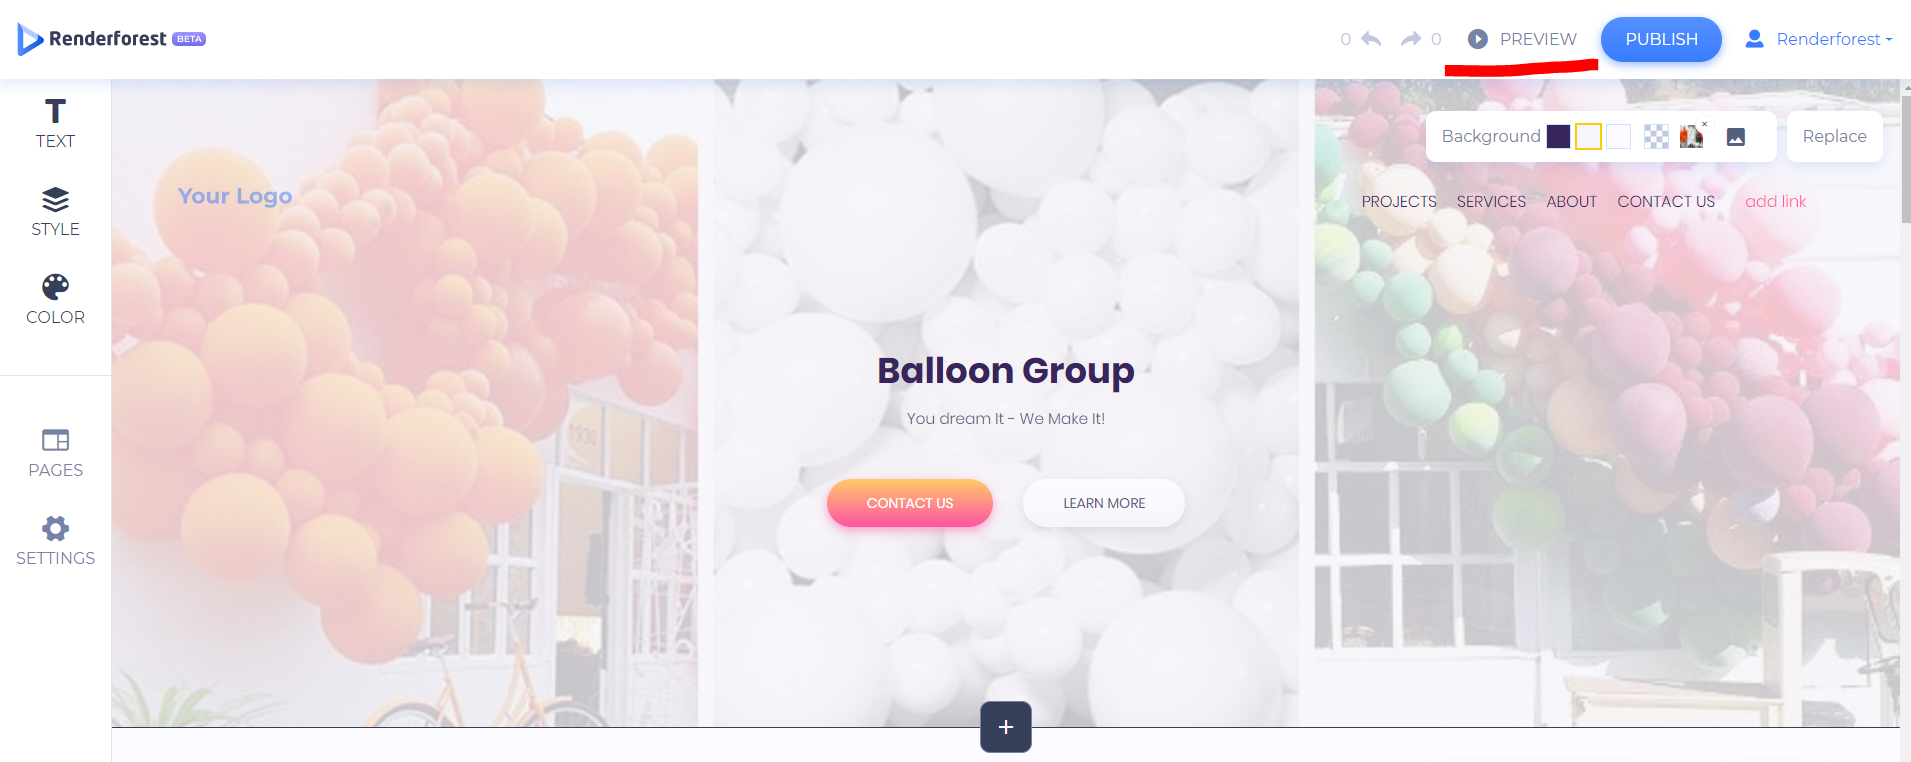
For our project with balloons, we’ve chosen the violet template for Moders Interior Design. Let’s customize it!
4. Customize your template
This is the moment when the real magic is happening. It’s like cooking dinner when you mix and match the best ingredients. This is absolutely up to you what goes into the dish. Renderforest customization options are flexible including the following features:
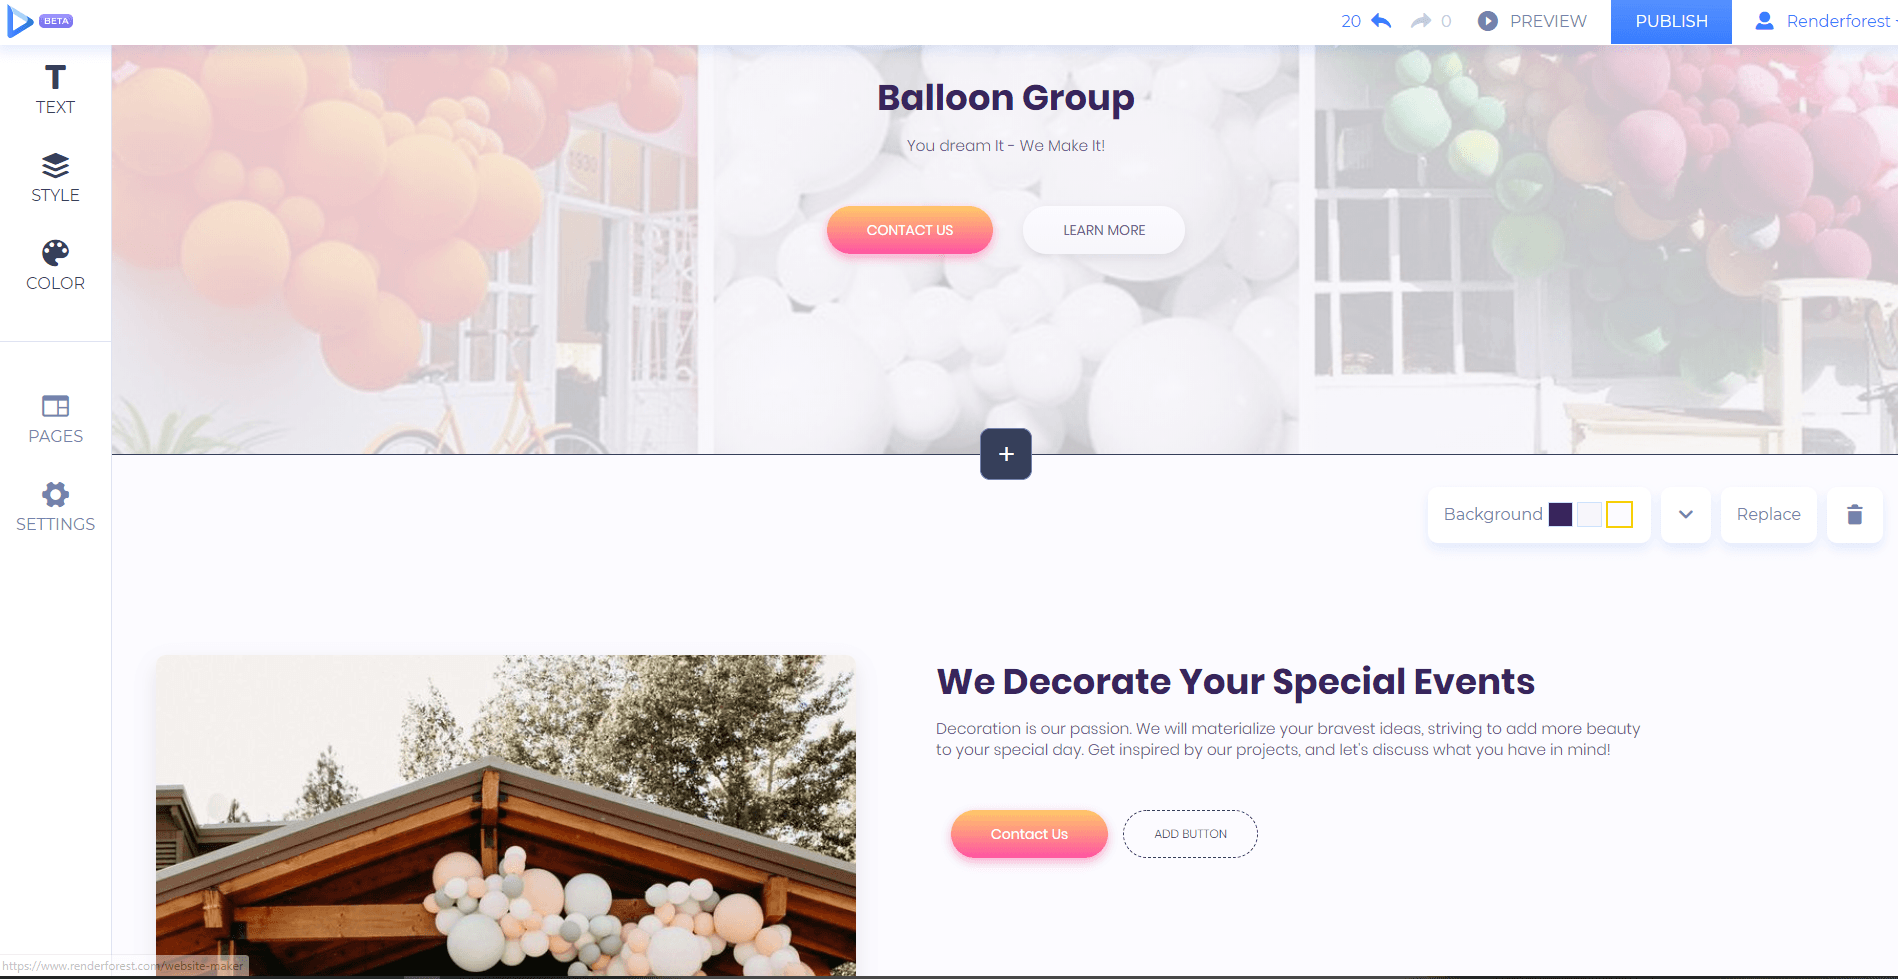
- Adjusting text style and size;
- Call to action button shapes, external links;
- Choosing a different color palette;
- Editing background pictures on homepage and galleries;
- Linking social media channels;
- Adding additional components such as contact forms, pricing models or FAQ section;
- Unlock Custom Domain settings and add your purchased domain or use the Renderforest Free Subdomain.
If you feel overwhelmed at this point already, try watching a tutorial from Renderforest to understand the features in detail.
5. Preview
When you are done finalizing on text content and color palette we bet you are ready to publish it. Slow down here and take your time on previewing and testing your freshly baked website. You need to be sure that everything works the way you want it to be. Create for yourself a list with checkmarks and get through it one by one:
- Spelling and grammar mistakes;
- Buttons in the header and within blocks working and redirecting to the appropriate place;
- Looking at the content you clearly understand the purpose of the site;
- Formatting is clear, simple enough to understand;
- Texts are not overlapping;
- Pictures are high—quality;
- Site is loading quickly;
- Mobile-friendly;
- Contact details present;
- Social media pages linked correctly;
- The site is optimized for search engines.
The list can be neverending, especially for those who like to keep everything in order. It’s better to double-check and be picky, then publishing an unfinished site. Ask your friends or relatives to have a look at your creation and give feedback.
6. Publish!
If you came so far it means you are almost there to run the website you created yourself. Think of the time you’ve just spent adding, editing, changing and adjusting. All of this without a line of coding. This proves that anyone can make a website that costs nothing. Give it a try!
Summary
People no longer need to have extensive knowledge of coding or programming to build a website. With the help of such website creators as Renderforest, there are no more barriers that stop us from building a website. If you are not ready to buy a domain or spend some extra money on the website, we suggest you work with Renderforest free version and save the template until the time comes. You can always edit it and change the subscription plan when it is more convenient for you.
About the Author

Peter Makeshoff
Peter Makeshoff is the founder and main author of Designer Daily.